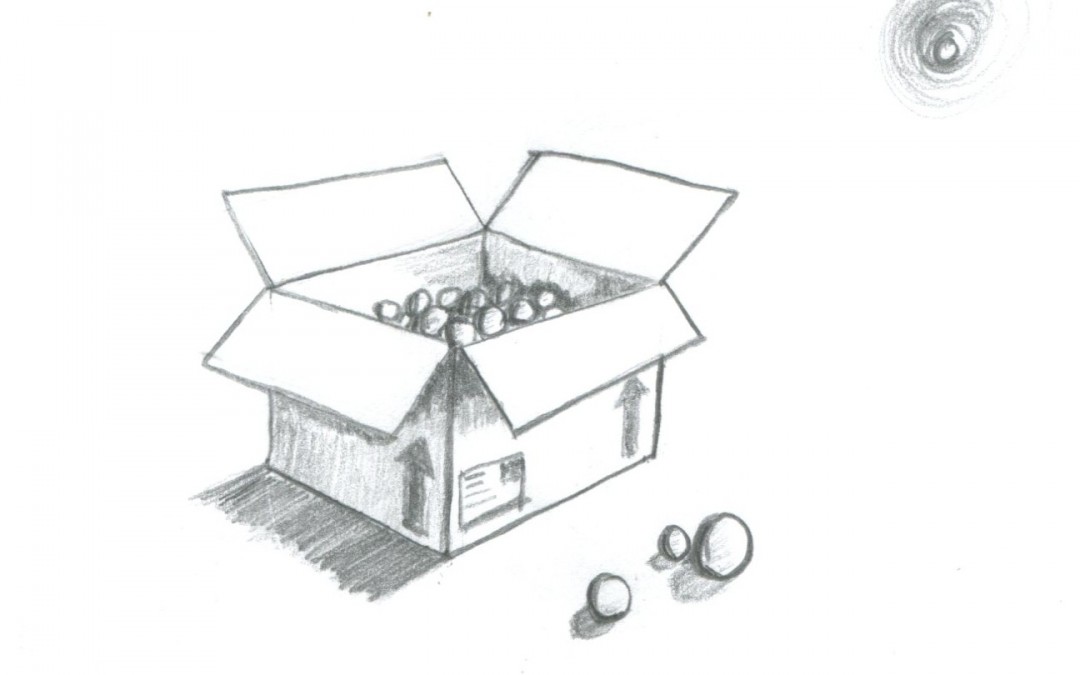
There’s that mystery behind a closed box. There’s also the reveal of what’s in the box. This chapter you learn how to create an empty box by simply drawing a straight line from the top middle corner to the bottom corner. That’s the easy part.
The harder part is to draw the top of the box. It could be a card-board box with the open flaps on top, or a lid that’s beside it, or even a treasure chest. The book will show you how to draw the flaps on an open box so that’s what we have here. Drawing the corner flaps takes some practice.
The Treasure Chest
The 2nd exercise at the end of this chapter was to draw a chest and fill it with whatever you want. At the request of my daughter, she wanted a treasure chest so that’s that I did. But an open treasure chest doesn’t really say anything else. Creating a small scene around the chest made it a little more interesting.

Pencil Pressure
Make your lines softer (less pressure) at first for easier corrections. Otherwise, you might trace the same line you just erased because of the ‘dent’ in the paper. You might erase the lead off the paper, but you’re not getting rid of the actual groove that you’ve made on the surface of the paper.Try it and you’ll see that you can actually feel the groove of a hard dark line after you erase it.
The Dots Matter
By this chapter, I realized how important the guiding dots are in any object that’s been foreshortened. Take a look at the short animation on the right side to see what I mean. The position of the middle dots in a cube control its position on the invisible x-axis on your 2-dimensional plane. It depends how you look at it.

Another way to look at it (HA!) is that we’re actually not rotating the cube, but the camera (our eyes). For example, moving the top dot to the right, and bottom dot to the left, is like moving the camera on its x-axis to the right so you end up seeing more of the cube.


 From creating WordPress themes to server architecture; I bring over 20 years of experience in Web/application development to my clients. Like the Web, my skill-set is constantly changing to adapt to new technologies and methodologies in delivering results. I'm a firm believer in using well-established standards to ensure longevity and flexibility for all my projects.
